PowerSim SDK. Writing Your First Program (Example)
This is the first of my articles on the PowerSim SDK. More will follow as and when I get a spare minute. If you would rather not wait and you have a specific question, please get in touch and I will be sure to answer.
Right, let us get started.
Plan:
1) Adding the PowerSim SDK to VisualStudio 2010
2) A short tour of the PowerSim SDK technical documentation
3) Preparing a PowerSim model for use in a project with the Powersim Studio SDK Administration Utility
4) The first program using the PowerSim SDK
1. Adding the PowerSim SDK to VisualStudio 2010
This is the stage where I ended up jumping through hoops. In theory the libraries register themselves when you install the SDK, so you open VisualStudio –Project-Add reference- COM-Powersim Studio Simulation Engine (PsSimEng.dll), the reference lands in the project and you are away. There is one catch, though: on my Windows 7 x64 machine the library simply would not take, and it threw some strange errors. I eventually found out on the forums that the x64 operating system is exactly where the problem lies.
Yes, PowerSim 8 Academic is built for x86, and you have to say so explicitly in the compiler settings, or you get a flood of errors at compile time.
Although, going by the PowerSim site, x64 will be supported from PowerSim 9 onwards.
If you have run into the same problem I did, here is what I suggest doing next.
You need to take the library out of the sample programs folder that ships with the SDK. Once PowerSim Studio and the PowerSim SDK are installed, go to x:Program FilesPowersimPowersim Studio SDKSamplesVisual Basic .NETSimInspectorbin and grab the file Interop.PsSimEng.dll.
Then simply add it to the project with Project-Add reference. That should be all it takes. Rebuild the project.
2. A short tour of the PowerSim SDK technical documentation
If the library went in cleanly at the previous step, it is time to look at the documentation.
Once the SDK is installed, the documentation lives here: C:Program FilesPowersimPowersim Studio SDKHelp PsSDK.chm
The documentation covers everything clearly, but it is very dry. Do not expect the mountain of examples on every page that you get in MSDN. And some of the examples that are there are better left alone: first, they are written for VBA and/or VB.NET, and second, they are full of mistakes. My guess is that the examples stayed as they were while the SDK moved on, and that is where the nonsense comes from.
So brace yourself: you will have to work it all out by hand. It is not worth worrying about, though. Once you have the principle, you will not need the examples at all.
Credit to the documentation team for the interactive map of the interfaces. It really is easy to use, and it makes the picture clear.
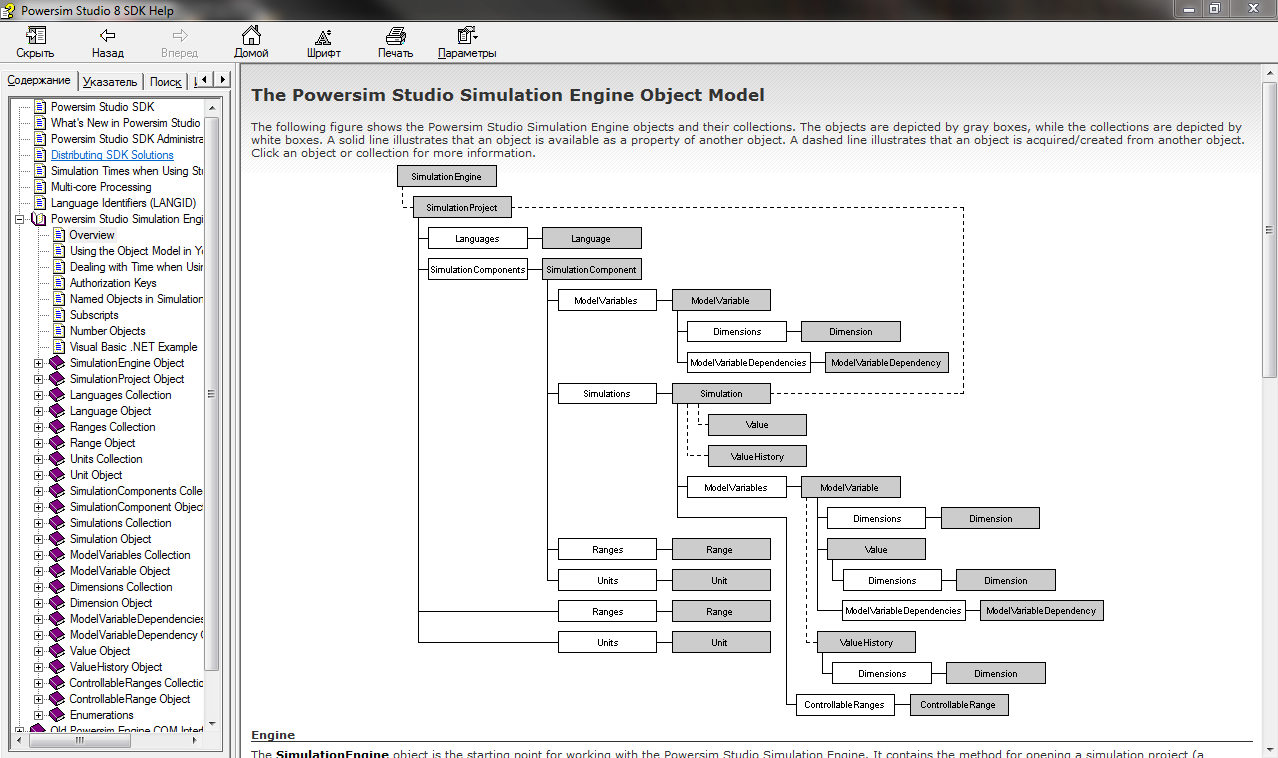
That is probably enough of a tour of the documentation.
3. Preparing a PowerSim model for use in a project with the Powersim Studio SDK Administration Utility
At this stage I want to show you a very neat trick that lets you adapt a model built in PowerSim Studio so that it will run from the SDK.
For exactly that job, the SDK ships with a clever little tool called the Studio SDK Administration Utility.
Once we have drawn the model in PowerSim Studio, we need to save it. The file format is *.sip. Then we launch the administration utility and press the “Authorization Key…” button.
The tool looks like this:
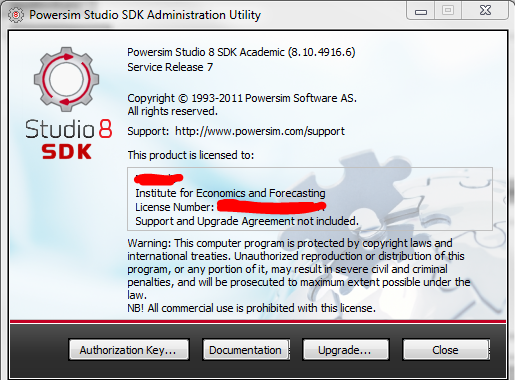
A window comes up asking for a password or a product code**, and below that you choose the model file itself.
** Take the product code from the document you were sent by email, the same one that has the serial number in it.
After all that we press “OK”, and a message appears telling us that a key has been copied to the clipboard. That is the key you paste into your code so that the model can be identified. Where exactly it goes, I will come to shortly.
And that is it. The model is ready to work with the SDK.
4. The first program using the PowerSim SDK
So here we are at the last stage, where we write that first program together.
Open VisualStudio. Create a C# project. Add the library to it, as covered in step 1. Now for the code.
We add the following:
using PsSimEng;
Below is the procedure itself, with each step described in the comments.
// hooking up the simulation engine
private readonly PsSimEng.SimulationEngine engine = new PsSimEng.SimulationEngine();
private void tryGetData()
{
            // Specify the path to the model file
            PsSimEng.SimulationProject project = engine.OpenProject(@"D:InstallWorkНИЦИТRadaSource26-12-11PSMDLS201162-DNCM062.sip", "paste here the model code you got from the Studio SDK Administration Utility ");

            // Get at the model components
            SimulationComponents simulationComponents = project.Components;

            // pull out the model components. Note that OpenDefaultSimulation() starts the simulation run
            SimulationComponent simulationComponent = simulationComponents.Project.OpenDefaultSimulation().Component;

            // After the run we have to address the variables.
            ModelVariables mvs = simulationComponent.Variables;

            // Read the data out
            foreach (ModelVariable item in mvs)
            {
                int id = item.Id; // the variable's id inside the project
                string fullname=item.FullName; // the variable name
                string number = item.Number.ToString(); // the variable value
            }
}
And that is how we pull data out of the model.
This example obviously does not cover everything there is to working with the PowerSim SDK, and the code here was not written to be optimal.
I hope this is all clear enough, and that it helps you get to grips with the PowerSim SDK when you are starting out.
Good luck!
Kind regards,
Michael Dvornichenko
